
You’re reading a parts page for site prep & utilities on a Cover ADU, written for Spring Valley homeowners, and we need to be straight with you about one thing before anything else: this category is labor and dirt, not a box you can order. Even so, here’s the answer most people want first.
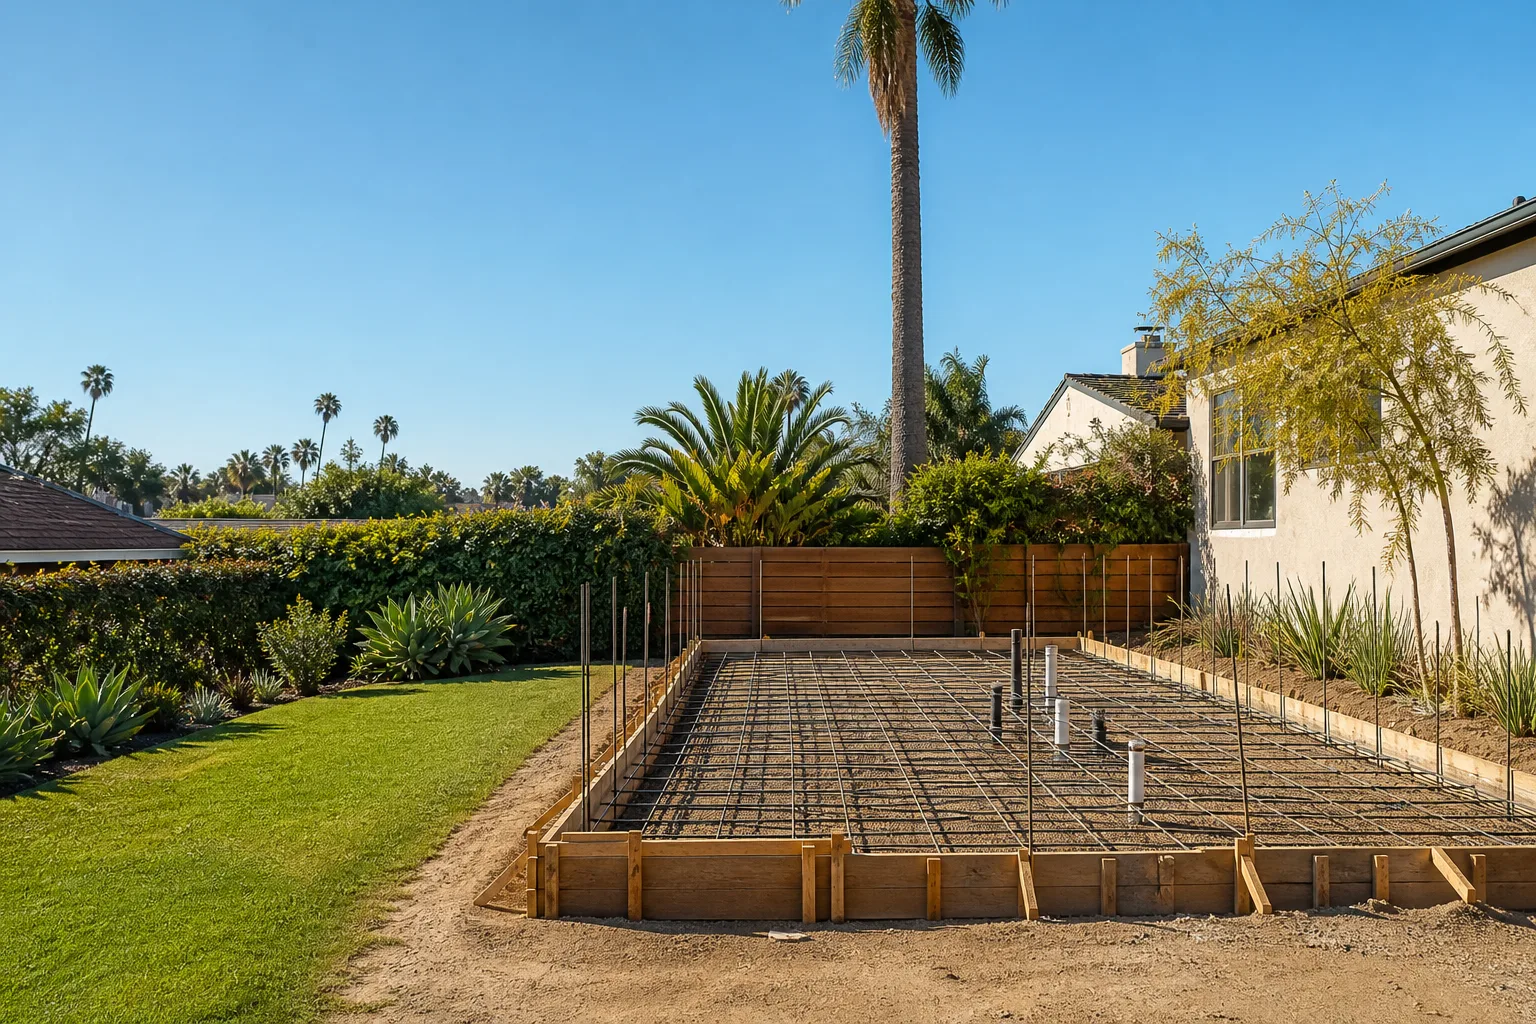
Site prep and utility work for a Cover unit in Spring Valley typically runs $18,000 to $52,000 installed, and almost always takes weeks rather than hours – grading, a concrete foundation or pier system, trenching for power, water, sewer or septic, and the final connections an inspector signs off on. The scattershot version: a utility bill that spikes the month after commissioning, a slab edge that’s already showing a hairline crack, or a permit correction notice from Clark County sitting in your mailbox.
Owners usually discover something went wrong at the utility stage in one of three ways. The water heater or mini-split trips a GFCI every time it rains. The toilet gurgles when the washing machine drains. Or the trench line settles in the second summer and the conduit pulls loose from the meter pedestal. None of those are Cover’s fault and none of them are the module’s fault – they’re site work, and site work is where Cover installs live or die in this valley.
Two notes on who we are, because they matter for how you read this page. Lodgewick ADU Builders Spring Valley is an independent installer and site-work provider. We are not affiliated with Cover, we don’t manufacture their panels, and we don’t speak for them. What we do is prepare the ground and the utility connections so a Cover module lands on a site that’s actually ready for it, and we back that work with a written price before we start and The Kingswell Guarantee on the finished job.
Which Cover Models This Applies To
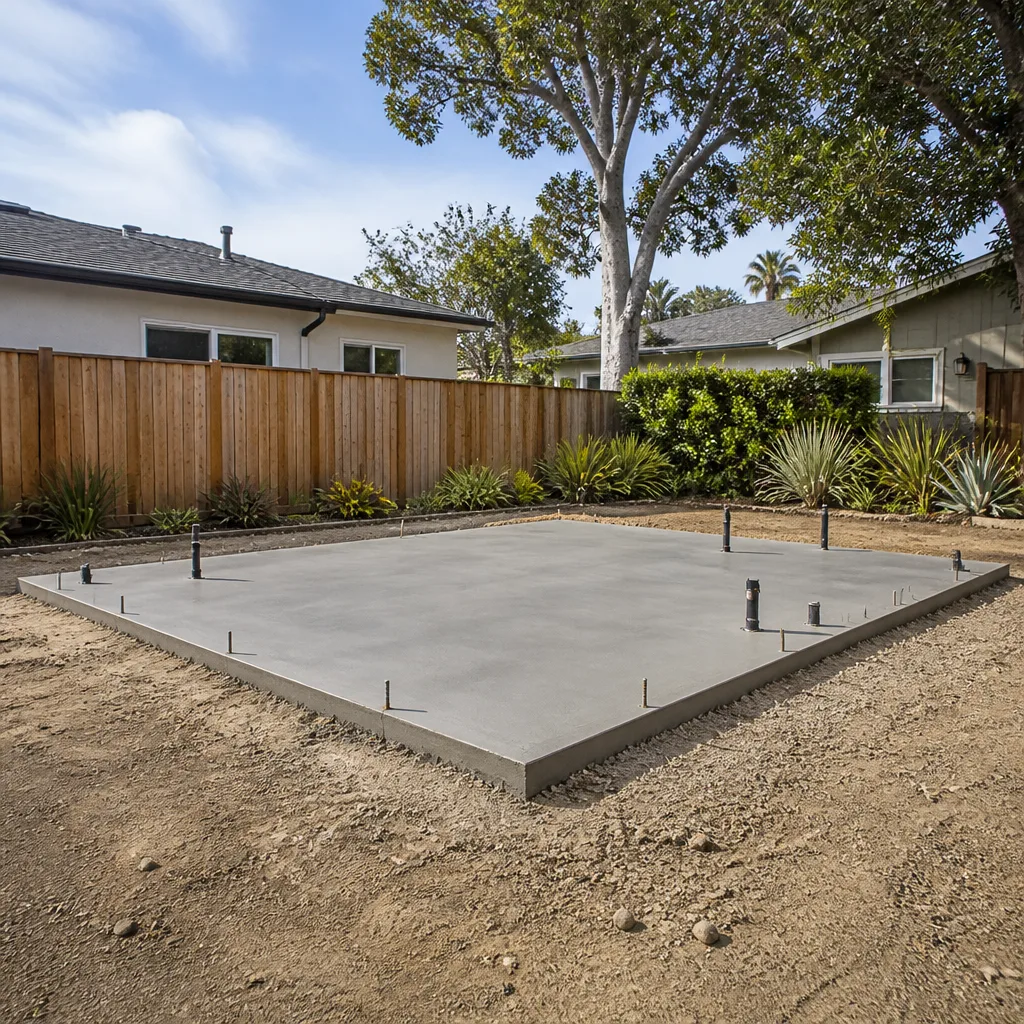
Cover builds a small family of prefab studios and one-bedrooms, and the site-side requirements shift with each one. The smaller studio configurations can sit on a pier-and-beam foundation with a compact utility riser; the larger one-bedroom layouts carry a full kitchen and bath, which means a 200-amp service feed, a real sewer or septic connection, and enough trench depth to get below Spring Valley’s frost-free but heat-cracked soil profile. Before you order anything, confirm three numbers from your Cover spec sheet: the module’s dry weight, the wet weight with full plumbing, and the required utility stub locations. Those three figures decide your foundation type and your trench routing.
How to identify what you’re actually working with. Pull the Cover plan set and look for the foundation detail page and the utility connection diagram. Those two sheets list the anchor spacing, the conduit sizes, and the point-of-connection coordinates. We’ve seen homeowners order a full slab pour for a unit that Cover designed for adjustable piers, which is an expensive way to learn this lesson.
The OEM-versus-aftermarket question is different here than it is for, say, a garage door spring. There is no “Cover brand” conduit or Cover-branded water line. The components are commodity electrical and plumbing materials – but the specifications are not commodity. A licensed electrician who understands Cover’s connection points will use the wire gauge and breaker sizing on the plan set, not a rule of thumb. That’s the whole OEM-versus-aftermarket decision on this part: use the spec, source the material from a supplier who can document it, and don’t let anyone substitute because it’s what they had on the shelf.
Worth saying plainly for anyone shopping around: we’ve done this work alongside Cover installs and alongside Abodu and Dvele projects, and the site-prep pattern is similar across all three brands even though the connection details differ. If you’re comparing builders in Spring Valley, ask each one whether they’ve read the specific plan set for your model. The answer tells you a lot.
Signs Your Cover Site Prep & Utilities Is Failing
Site work doesn’t “fail” the way a part fails. It fails slowly, and usually in ways that look like something else. Here are the five we see most in Spring Valley, with what’s actually going on underneath each one.
- The ground around the foundation is settling unevenly. That’s backfill that wasn’t compacted in lifts, or a slab poured over soil that hadn’t been properly moisture-conditioned. Spring Valley’s clay-heavy soils expand when they’re wet and shrink when they’re not, so a foundation that wasn’t engineered for that cycle will move on you within a season or two.
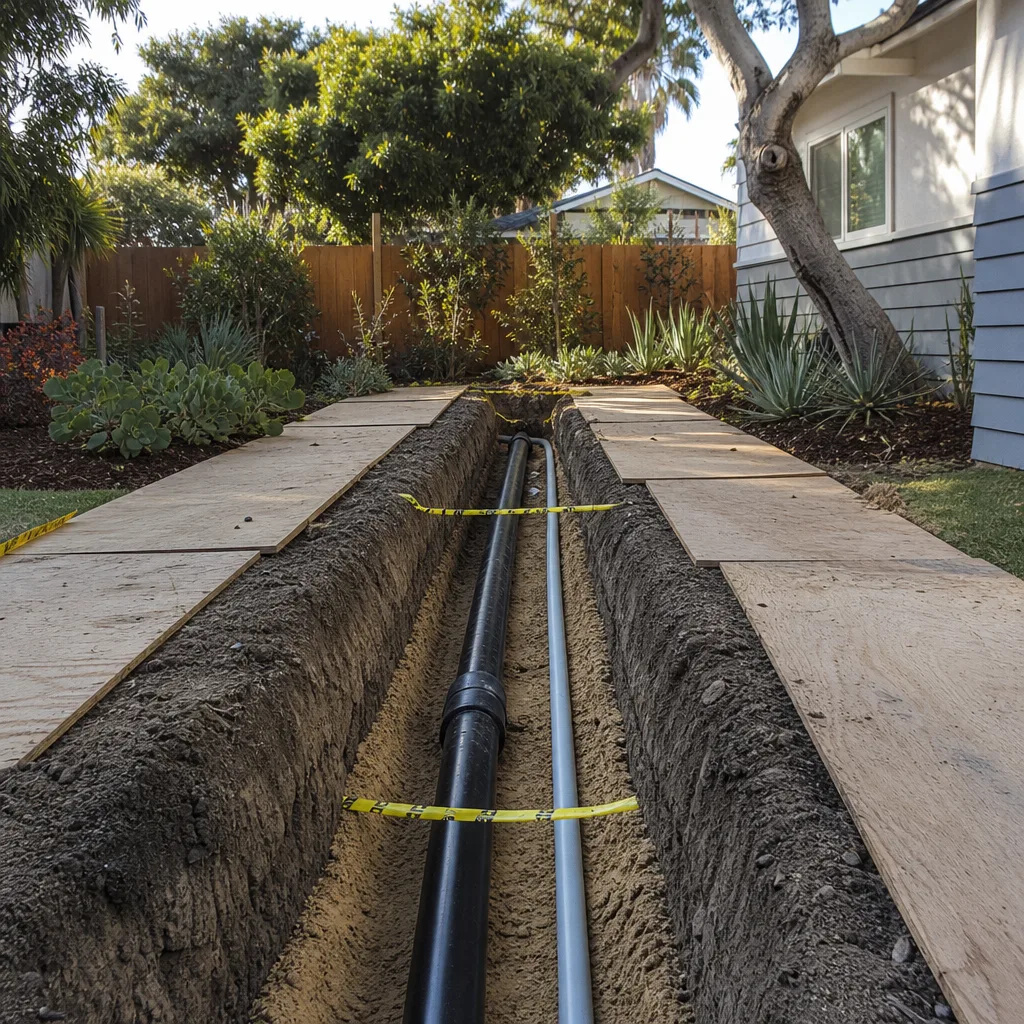
- A GFCI trips whenever it rains or the irrigation runs. Water is getting into a conduit body, a junction box, or a stub-up that wasn’t sealed or sloped correctly. The tripping is the symptom; the real problem is a low spot in the trench line where water pools and finds its way into the raceway.
- Drains are slow, or the unit gurgles when something else runs. The sewer or septic connection likely has a slope problem – not enough fall, or a belly in the line where the trench settled. This is a dig-it-back-up repair, and it’s much cheaper to catch before the landscaping goes back in.
- Utility bills are running higher than your neighbor’s comparably sized unit. That points to a connection detail: a water line that’s weeping at a fitting, a panel feed that’s undersized and running warm, or a missing meter on a shared service. It’s rarely the appliance.
- The city or county flagged something on inspection. In Spring Valley that often means a permit wasn’t pulled for the utility work, or the trench depth and conduit protection didn’t meet the adopted code for the area. A correction notice is actually good news – it means someone caught it before it turned into a bigger problem.
One more that doesn’t fit neatly into a list: if the module itself is sitting level but the doors and windows have started to bind, don’t assume the Cover frame is the culprit. Check the foundation and the pier heights first. Site prep is the usual suspect.
Replacement Cost & What’s Included
Here’s the honest range for Spring Valley, broken out so you can see where the money goes. These are installed prices – labor, materials, and the coordination included – not a parts quote with a labor surprise on top.
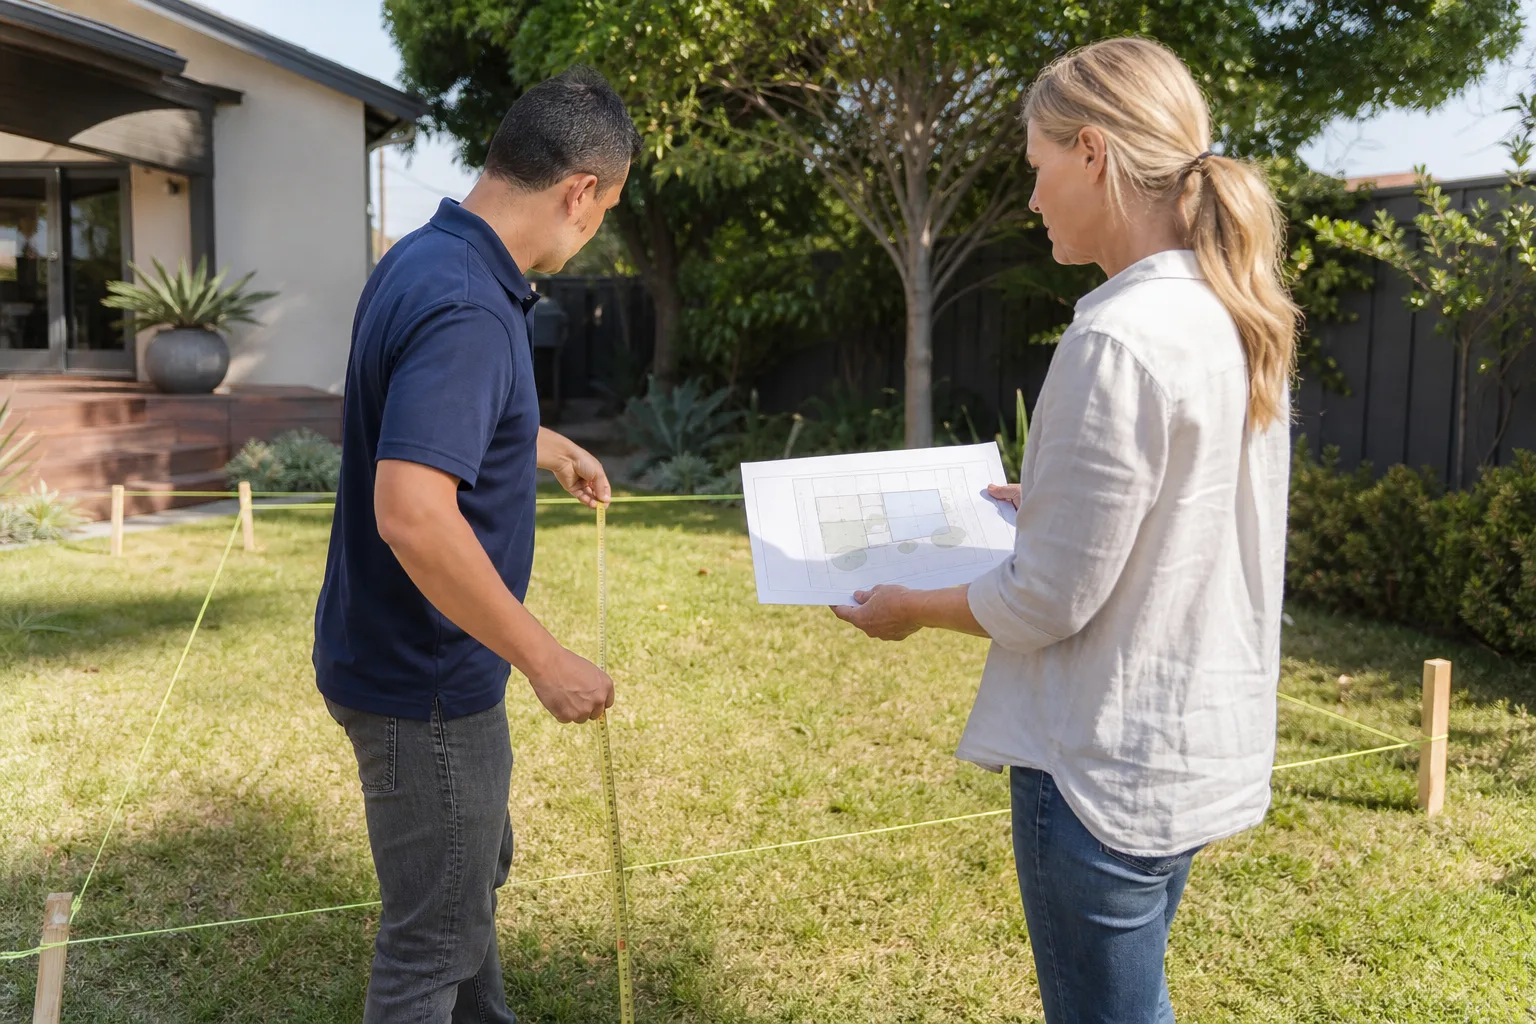
- Site evaluation and engineered foundation plan: $1,800 to $4,500, depending on lot slope and soil report needs.
- Grading, excavation, and compaction: $3,500 to $9,000. A flat lot on stable soil lands at the bottom; a sloped lot with fill soil lands at the top.
- Concrete slab or pier-and-beam foundation: $6,000 to $18,000. The pier system is usually the lower number; a full engineered slab with thickened edges is the higher one.
- Electrical trench, conduit, and panel connection: $3,000 to $9,000. Distance from the main panel is the biggest driver here.
- Water and sewer or septic connection: $2,500 to $8,500. Septic adds cost and adds permitting time.
- Final connections, testing, and inspection coordination: $1,200 to $3,000.
What drives the range more than anything else is distance – from the panel, from the sewer main, from the water meter. A Cover unit tucked 15 feet from the house is a fundamentally different project than one at the back of a quarter-acre lot. The other driver is what we find when we dig. If the existing service is older or the trench crosses a line nobody documented, the number moves.
We put the price in writing before any work starts, every time, and there are no price changes at the door. That written figure includes the scope, the materials spec, and a defined arrival window. Every project carries a written guarantee, and under our 365-Day Done Right Promise, if the work isn’t right, we come back and make it right – a free return visit within that period. The guarantee is on the page before we break ground, not after you ask for it.
DIY or Call Us?
Some of this is safe to check yourself. A lot of it isn’t, and we’d rather tell you that than sell you a service call you don’t need.
What you can safely do: walk the perimeter and photograph any settling, cracks, or ponding after rain. Note which breakers trip and when. Verify the permit status with Clark County or the city on your own – that’s public record and it takes five minutes. Read your Cover plan set and confirm the connection details match what was actually built. If they don’t match, that’s a conversation worth having with whoever did the work.
Where DIY goes wrong. Trenching, conduit work, panel connections, and anything involving the sewer line are not homeowner tasks. Utility trenching has a specific depth and protection requirement in this area, and getting it wrong means redoing it. More importantly, electrical service work and gas or sewer connections can hurt you or flood a foundation, and an unpermitted trench can foul up your certificate of occupancy down the road. We’re not going to walk you through doing it yourself, because the honest answer is that the risk isn’t worth it.
If you’re seeing any of the signals above, call us at (844) 780-4284 and we’ll walk through what you’re seeing before anyone comes out. A live person answers that line around the clock – not a voicemail, not a chatbot.
FAQs
The foundation and trench work should last the life of the unit if it’s done to spec – 30 years or more is a reasonable expectation for a properly engineered slab and correctly bedded conduit and sewer line in this climate. What shortens that lifespan is almost always installation quality, not material quality: inadequate compaction, a trench without proper fall, or a stub-up that wasn’t sealed. Spring Valley’s shrink-swell soil is unforgiving of shortcuts, and the second summer after install is usually when the difference shows. Call (844) 780-4284 if you want us to look at what you’ve got.
Often, yes – and we’d rather repair than tear out if the repair will actually hold. A settled trench can sometimes be re-excavated and re-bedded without touching the foundation. A leaking stub can be re-sealed. A slow drain can occasionally be corrected by re-grading a section of line. What usually can’t be repaired in place is a foundation that was poured without an engineered design for the soil. If the slab is moving, it’s moving for a reason, and patching the cosmetic crack doesn’t fix the reason. We’ll tell you which category you’re in after we look.
Site evaluation and written scope typically take a few days. Grading and foundation work runs one to two weeks depending on the lot. Utility trenching and connections add another week to two weeks. Inspection scheduling is the wildcard – that’s on the jurisdiction’s timeline, not ours, and we tell you the window we’re given rather than the one you’d like to hear. We give you a defined arrival window for each phase, and we show up in it.
We source electrical, plumbing, and concrete materials from suppliers who can document the spec, and we build to the connection details in your Cover plan set rather than a generic template. We don’t stock Cover parts and we don’t carry an inventory on a truck – every job is sourced to the specific plan. That’s also why we ask for the plan set before we quote: it’s the difference between a number that holds and a number that changes once we’re on site. Our technicians have up to 16 years of experience with this kind of site and utility work, and every job site is staffed by background-checked, uniformed technicians, so you always know who’s on your property.
One small note on the name, since people ask. A lodge is a small house on a larger property. That’s the whole idea of an ADU, and it’s where our name comes from. If you’re planning a Cover build in Spring Valley and want the ground and the utilities handled by people who’ll put the price and the promise in writing, call (844) 780-4284 for a free estimate. We’ll tell you what your site needs, what it costs, and what happens if something isn’t right.
Written by the team at Lodgewick ADU Builders Spring Valley, serving Spring Valley and nearby areas.